Getting Ready for Your Project 3/6 – Material Readiness
In this six-part "Getting Ready for Your Project" series, we're going to help you and your team figure what you need to prep so that you can begin your project on time with minimal stress.
Model Readiness:
In part 3 of our "Getting Started" series, we will talk about material prep. We will help you organize your proprietary materials, give you guidelines on delivering your materials in their current format, and help you decide on material fidelity.
Definitions:
Like we did with models, we want to establish some basic definitions. As always, check out our 3D dictionary for the full list.
Material
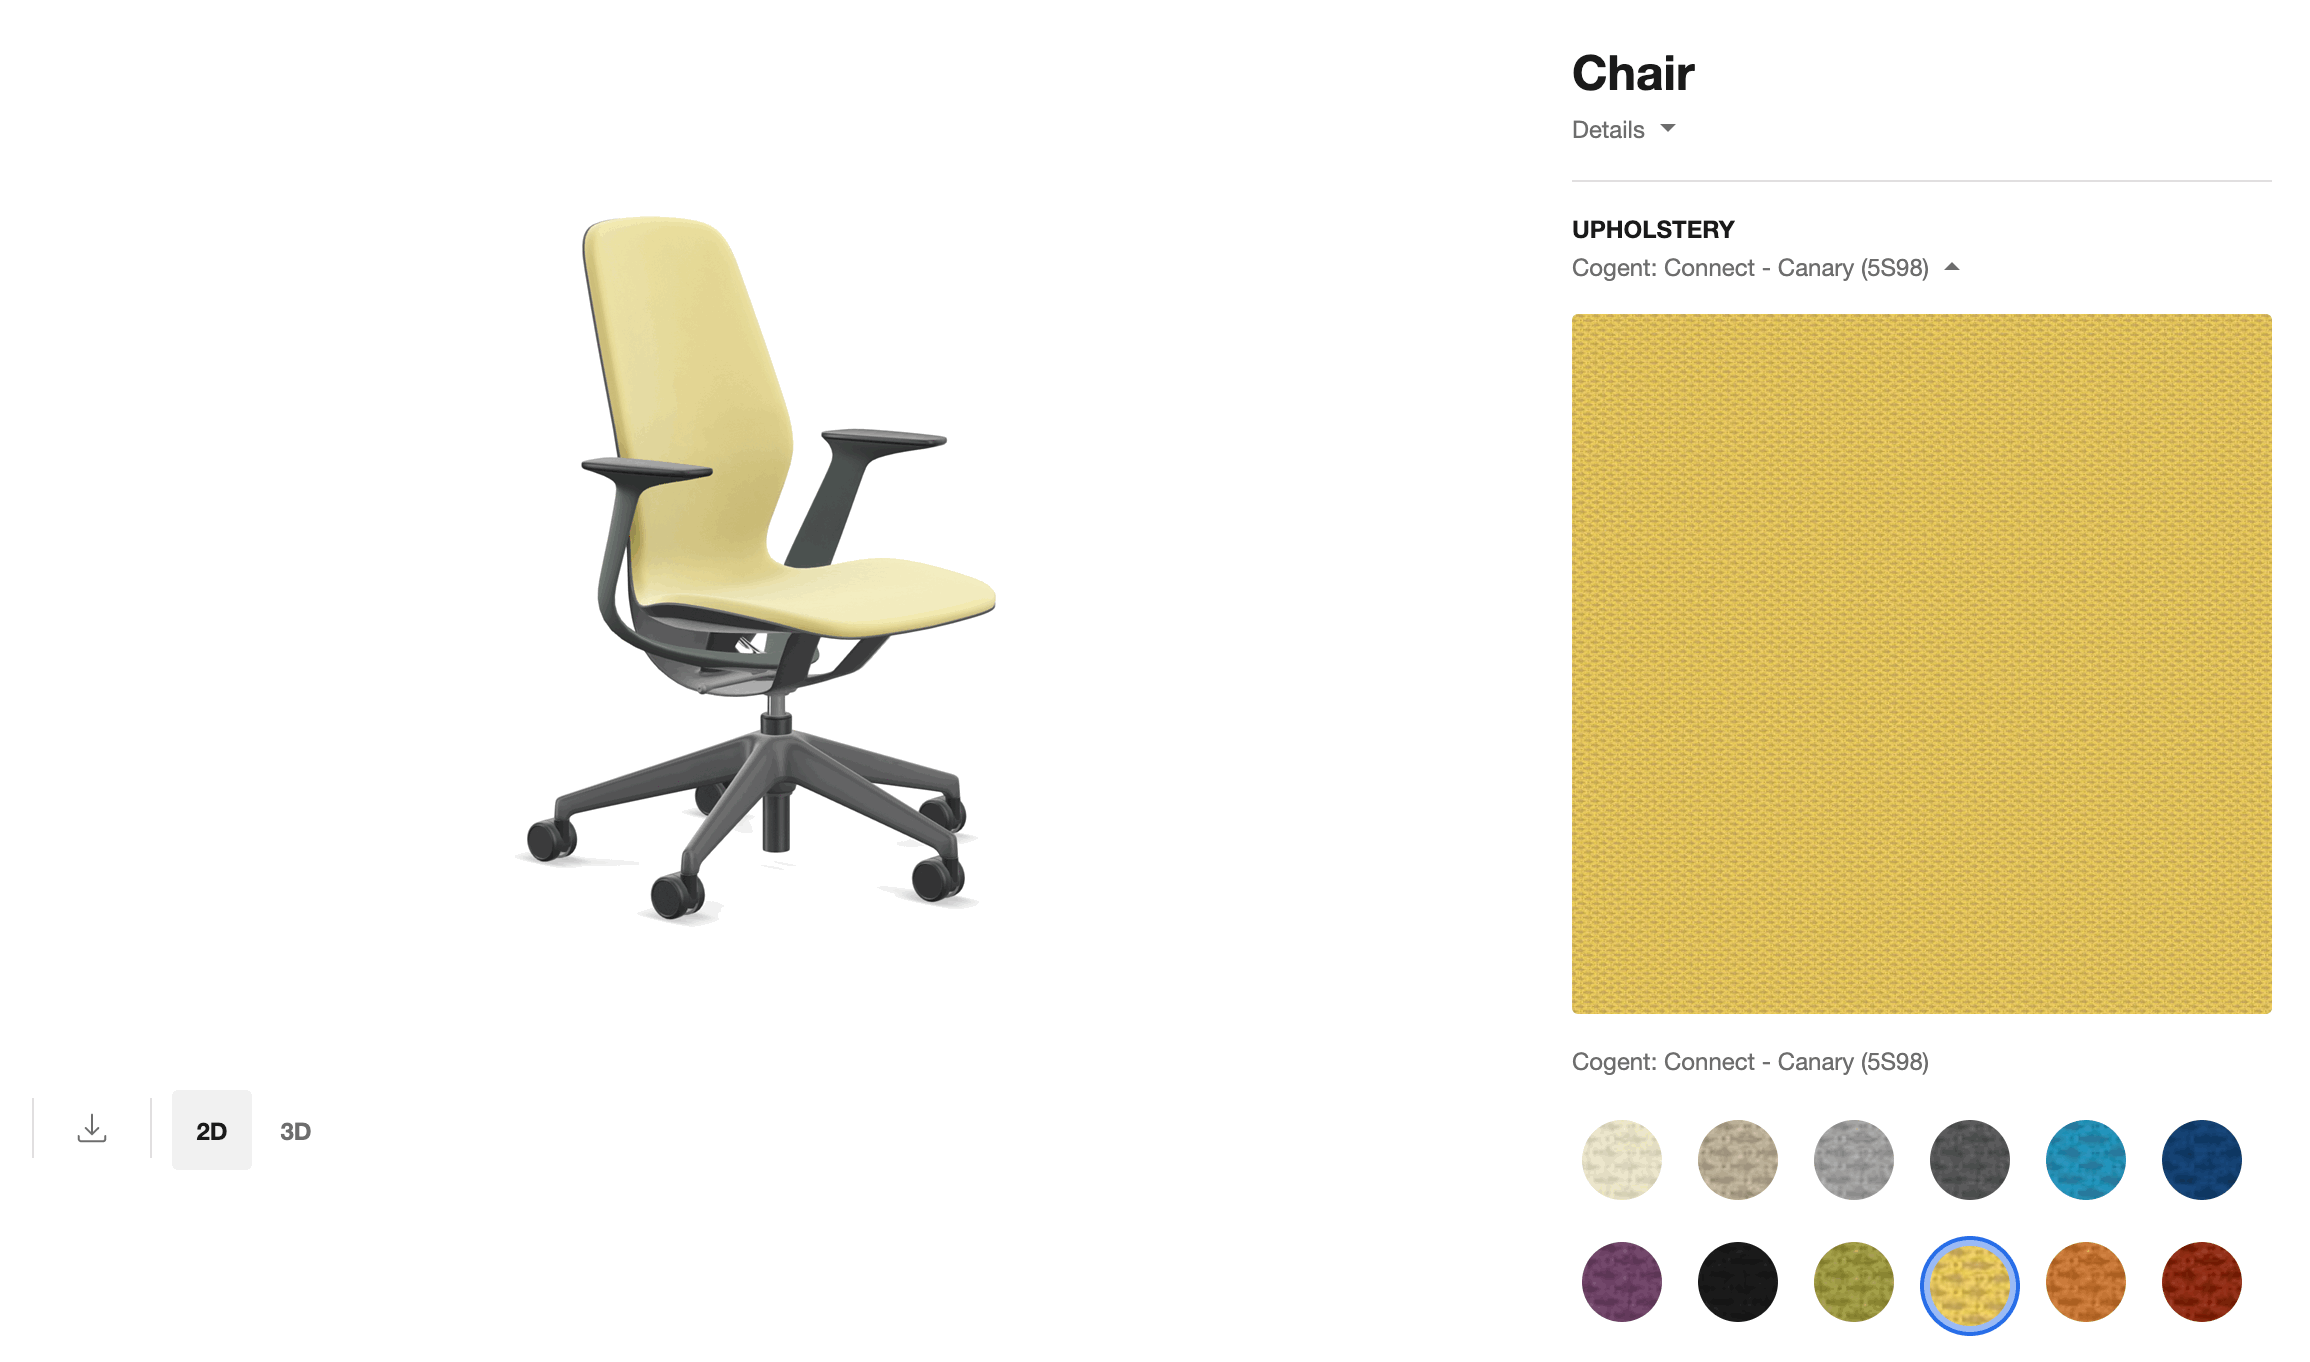
The physical nature of a configurable part. This can refer to things such as color, texture, metallic nature, or glow. This does not refer to anything that changes the underlying shape of a part (see: 3D Asset).
3D Model
Any individual model that will be referenced as part of a product being configured. Depending on the complexity of the product, this asset may represent the entire product or a single configurable piece.
Things to Consider:
Do you have any custom proprietary materials (woodgrain, fur, leather, custom patterns, etc.)?
While there are some materials that are readily available online references for 3D artists, proprietary materials are often more time-consuming to create. If you don't already have a visual catalog of materials, start by creating a spreadsheet that organizes materials by type.
Generally, glass, plastic, and some metals can be created from images available online, whereas specific woods, fabrics, and custom patterns will need to be scanned and generated by a 3D artist from scratch. Breaking out your material swatches by category will help your scoping team better determine the amount of work involved in your project.
Are your materials available as digital swatches?
You may already have digital swatches of your fabrics on hand, which can save you hundreds of hours on your implementation in both scanning and digitally rendering materials. To ensure optimal quality, your files should be 2700x2300 pixels at 300 dpi. If you have files at a lower-quality resolution, reach out to your scoping team to determine whether these files will still work for your use case.
Are you able to provide physical samples?
If you do not have digital files, or if your digital files do not meet the quality guidelines below, your implementation team will need to scan your materials in order to create 3D assets from the scans. Getting swatches or materials to your implementation team can sometimes be more time-consuming that anticipated.
Consider the following:
- Do you currently have all of your materials in-house and are they easy to transport?
- Did you include budget for shipping materials and/or swatches for scanning?
- Are some or all of your swatches located in an offsite facility? Who do you need to contact to ensure those materials arrive at the scanning site in a timely fashion?
- Do you need approval to ship proprietary materials offsite?
- What is your material refreshment lifecycle? Will you be able to complete this project before the next batch of materials is released?
- Do you know where you need to send your materials?
Have you compiled and saved your materials in a readily-identifiable naming convention?
Whether you are generating materials in-house or are working with a third-party designer, think about the current organization structure – are you receiving a folder with arbitrary numbers or SKU numbers that provide little reference to the final material itself?
Providing a clear organization structure can majorly streamline your implementation. If you are generating a bill of materials (BOM) based on part SKUs, you may need need to maintain a SKU structure for your material files. In that case, provide a spreadsheet that lists out your SKUs, their corresponding materials, and ideally, a link to the folder where the corresponding material file exists.
If you have more flexibility with your organization structure, you might consider simply creating folders with each material by type. If you are completing your implementation in phases, you can prioritize your materials by their respective implementation deadlines and organize by type within these date folders.
Will all of your materials need to have the same fidelity and 3D representation?
When creating a model, some materials may be in a hard-to-see part of the model or, conversely, require more attention to convey specific details.
A Threekit apparel client recently added a configureable suit option with professional team logos emblazoned on the linings. Because customers had to be able to zoom in on these logos to see pattern details, the images for this line needed to be more detailed than the standard single-color linings we created for the company's initial offering.
Below are some additional considerations around quality:
- Do materials show up in parts of the model that are hard to see? If so, are you comfortable have the 3D team spend less time on these components?
- Are there some materials on the model that matter less in quality, e.g. inside apparel shots, mechanical components, etc.?
- Do you have premium materials that need higher fidelity to show specific details or finishes?
- Can you stagger materials so they are released at a later date to allow for budget timing?
What's Next:
In part 4 of our series, we'll talk about readying your team for your project.
If you have any additional questions as you begin your project, you can always reach out to your Threekit Customer Success team at success@threekit.com.


