Threekit Perspectives
This blog post is part of our Threekit Perspectives series, a platform for our trusted partners to share their expertise with our audience. This post comes from Ricky Hayes, Co-Founder of Debutify, a free Shopify theme for drop-shippers.

One of the benefits of running a physical store has always been the ability to let customers test products. Someone buying a dress can wear it and see what they look like in a mirror. A person looking for a good sound system can have it switched on and outputting music in a testing room.
Basically, a customer can easily get a sense of how a product feels, fits, moves, sounds or looks when in use. With an eCommerce store, this is a little trickier since most of the time, shoppers are interfacing with a website or mobile app.

But with the advent of augmented reality in ecommerce, there are new ways to present products to customers and give them an idea of what it’s like to have and use them in reality.
If you run a Shopify store or plan on opening one, look through these tips on how to use AR and 3D configuration to take your store to the next level:
Identify The Relevant Customer Worry
Before you start playing around with Shopify augmented reality, look at it from the product perspective to see whether it is important. A shopper may not worry that much about whether the toothbrush head will fit in their mouth.

But they might be concerned about how well a cycling machine fits in their apartment’s living area for that quick workout. They may also wonder what certain kinds of makeup would look like on their face.
With every product listing, note the issues that customers may have regarding its appearance and operation. A good place to start is the questions that you usually receive about products when giving customer support.
Dimensions aren’t always helpful, especially since a lot of people don’t have an accurate idea of how long an inch, foot, meter is. They also don’t always have the ability to tell the size of every space.
For example, you might get a question like “I usually take my bike to different areas with me, can I fit it in the back of my Toyota Prius? I really can’t fit a rack on the roof for it, it just won’t look nice”.
Also take the time out to do research on how people usually treat certain products. For instance, whether more people are mounting TVs on the wall, or placing them on a stand/shelf.
Another option you can try is to look for Shopify stores offering an AR experience and see which products they’ve done it for, what environments they used and how they presented the option.
Create 3D Models Of Your Products
Once you have an idea of the products that are most likely to benefit from a Shopify product customizer and augmented reality, visit the Shopify Expert marketplace and look for experts in 3D model creation services. The objective is to request for a quote from an expert, providing details about your project.
These experts will need images to use as a starting point so make sure you get the guidelines on what to submit. Especially for those who might have extra requirements.
Photo quality
 The photos you submit must be well-lit. Provide multiple angles making sure you capture every major face of the product (top, bottom, front, back, left, right). Include up-close photos of any distinct features and details. Name each shot clearly e.g. Blender – top, toaster – back.
Product dimensions
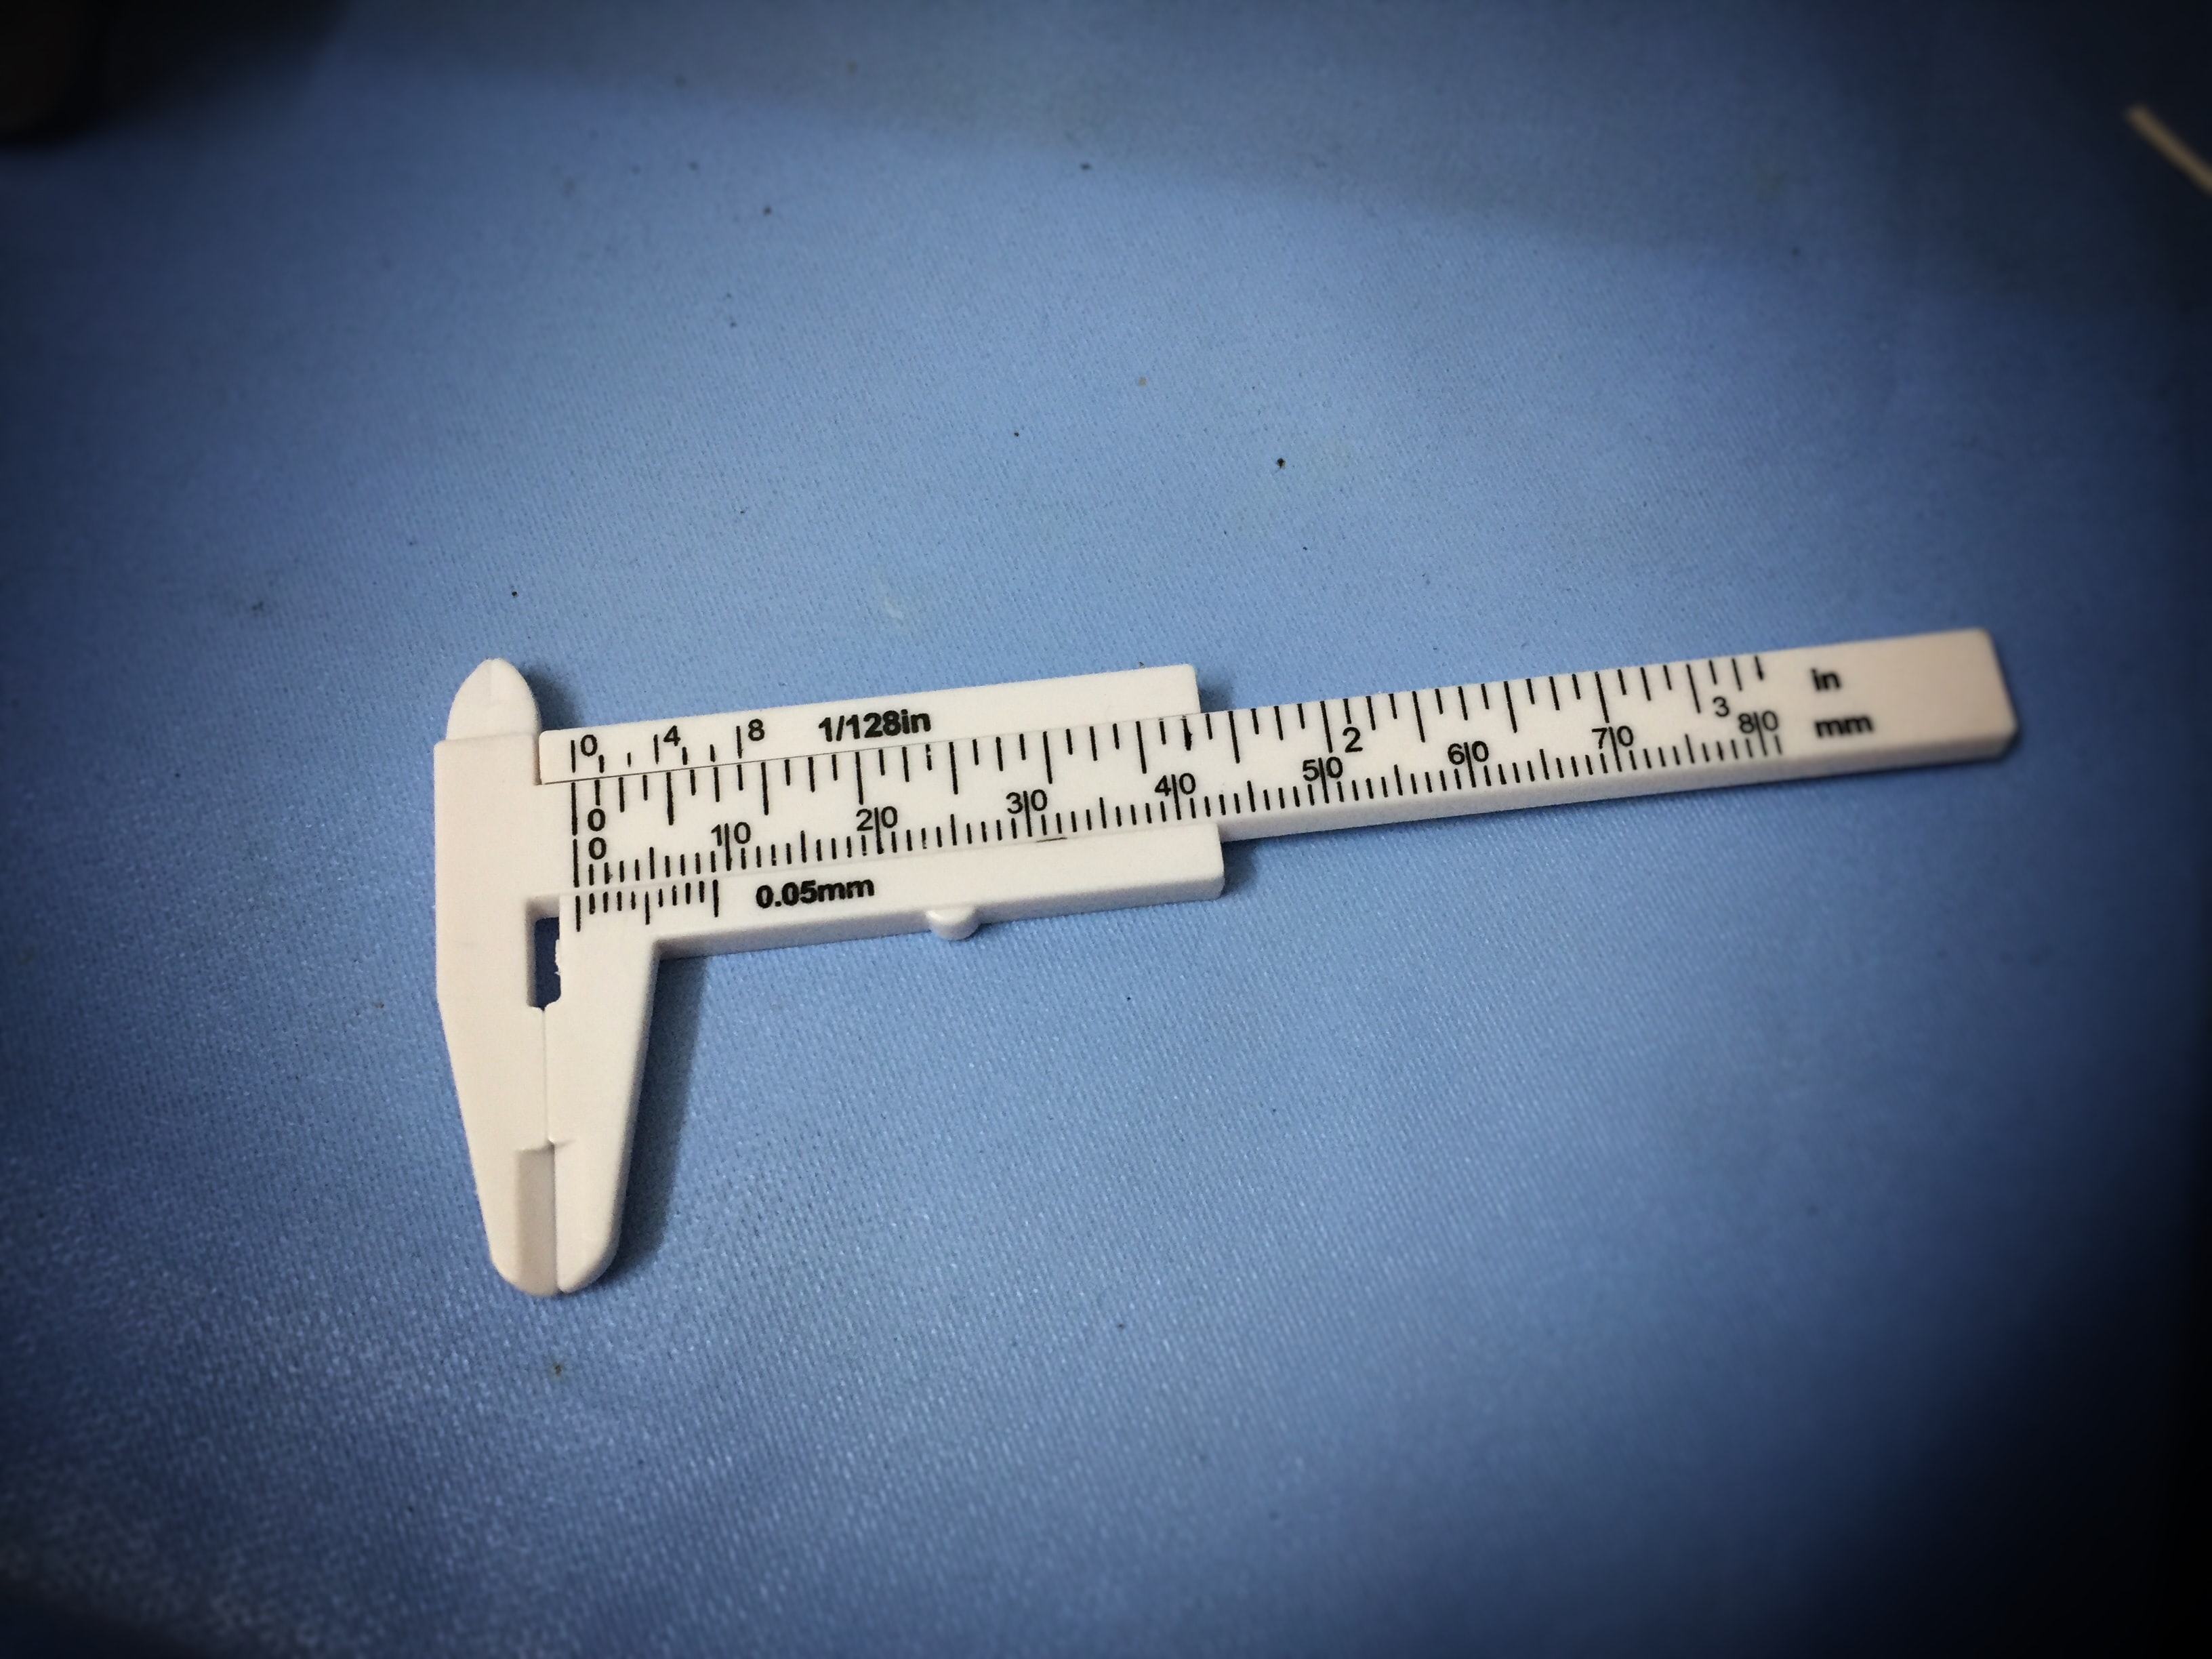
In addition to the photos, you’ll have to provide length, width and height. Zero in on every edge and face to note down the dimensions. Present them as millimeters and add a corresponding picture showing which edge you’re referring to.
Assess The Model Quality
Use the gITF viewer to preview the model. Recall the main worry or concerns that were associated with the product. If the major goal was to give a sense of its size, gauge its scale relative to the environment in which it is.
If the queries were more about the look, focus on the color, dullness or glossiness, texture (rough or smooth), scratches, dots, studs and depressions etc. Check for proportionality and symmetry. View the edges to see how sharp or rounded they are.
Here’s a checklist you can refer to when trying to rate the quality of a 3D model.

Add 3D Models To Your Product Page
The 3D Warehouse app has been discontinued so you can now add these models from your products page. The first thing to do is get the latest version of your Shopify theme or modify the one you have. The latter is a method that should be left to experts in web design languages.
Select a product from the Products section in your Shopify administrative panel. Click Add Media and select the file 3D model file.
Remember that there are a number of different formats so to ensure continued compatibility with different platforms and features, visit the Linked Files section. Add all available formats like .gltf, .glb and .usdz which is for Safari browser users on iOS 12 devices.
Select And Set Up Your Shopify Product Configurator App
Before shoppers can actually view the 3D models and other placements, you have to go beyond just uploading the files. The next step is to enable the 3D features for your theme. To cater to Safari browser users on iOS, you’ll have to enable AR Quick Look.
Consider getting an expert to help you edit the code in the Actions area of your Online Store section of the administrative panel. Apple has also introduced newer tools that offer even more functionality like ARKit and Reality Composer.
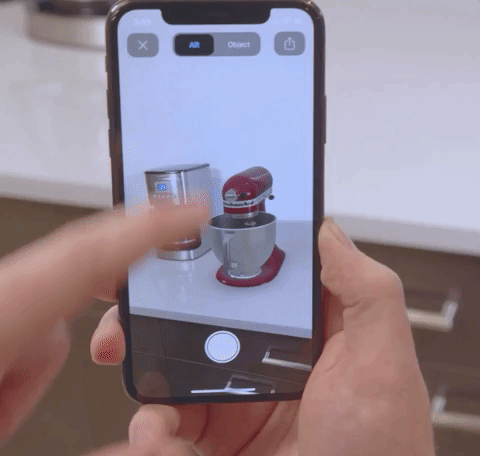
For other platforms, try using apps from the Shopify app store like Threekit. This one enables shoppers to use their camera to view a 3D model in real space.
Display The Badge For Your AR Option
In the case where you’re using AR Quick Look, you’ll be able to add an AR badge to your product image that symbolizes the availability of a 3D model. This will also require you to edit your theme’s code.
After this, visit your store and tap on the badge to test your 3D model and see what a customer would see while shopping. To learn some basic details on how to edit code when adding product media, enabling AR Quick Look and adding an AR badge to products, read more here.
Promote Your AR Offering
This technology is still fairly young so even if you adopt it, some shoppers may not be fully aware. Consider taking a two-pronged approach by promoting it both on and off your site. Create a special page dedicated to talking about your AR experience.
List all the requirements that enable a shopper to view 3D models. Tell them about the benefits of this feature and use pop-up CTAs where possible to remind shoppers when they are on a product page with 3D models available.
Create a category page with a clear heading letting people know that the products come with an added 3D and AR experience for ecommerce. Make new videos within which there’s a viewer using the AR option to view 3D models of products on your Shopify store.
Include the videos in posts on your store’s social media pages to let people know about the AR option on your Shopify store. Make sure you also train your support staff to be able to answer any questions from customers on how to use this feature.
Conclusion
There are three things to keep in mind if you’re going to use 3D configuration and AR for your Shopify store. The first is your budget. Creating 3D models isn’t always smooth as you might have to try different artists. Set aside enough money to get the job done.
You may also need some help in producing photos and measurement documents specifically for the 3D experts to use. Additionally, 3D configurator apps do require a subscription too.
The 3D product configurator eCommerce stores choose should also partly depend on how detailed they want their AR experience to be.
Some may want a simple drag-to-view, others may want more of a video-like display and some want to be able to visualize the product in a real space using their camera.
The second is compatibility. Ensure that you have all the possible formats available in your Linked Files section. You don’t want to tell people that the AR option is available only for it not to work for some shoppers using different browsers or devices.
To achieve consistency for all types of shoppers, solicit the help of a programming language expert to help you with any areas that you may not be well-qualified to handle.
Thirdly, you have to think about how to spread awareness for your AR experience. Conduct consistent and thorough customer research to find out the groups that ask questions or behave in a manner which indicates that AR could help them.
Those who are always viewing all available angles of product images, the ones who watch videos of unboxing, demonstrations, how-tos/tutorials. Include information about your AR experience in as many of your communication avenues as possible.

Ricky Hayes is the Co-Founder and Head of Marketing at Debutify - free Shopify theme, helping drop-shippers build high-converting stores in minutes. He is a passionate entrepreneur running multiple businesses, marketing agencies and mentoring programs.